# Installation
Follow these steps to install PrestaShop MCP Server on your PrestaShop store:
# Step 1: Download and Install the Module
- Visit the PrestaShop Marketplace (opens new window)
- Search for PrestaShop MCP Server
- Download the module
- Log in to your PrestaShop back office
- Navigate to Modules > Module Manager
- Click Upload a module and select the downloaded file
- Once uploaded, click Install
# Step 2: Configure the Module
After installation, configure the module:
- Locate PrestaShop MCP Server in your module list
- Click Configure
- Follow the configuration instructions to set up your preferences

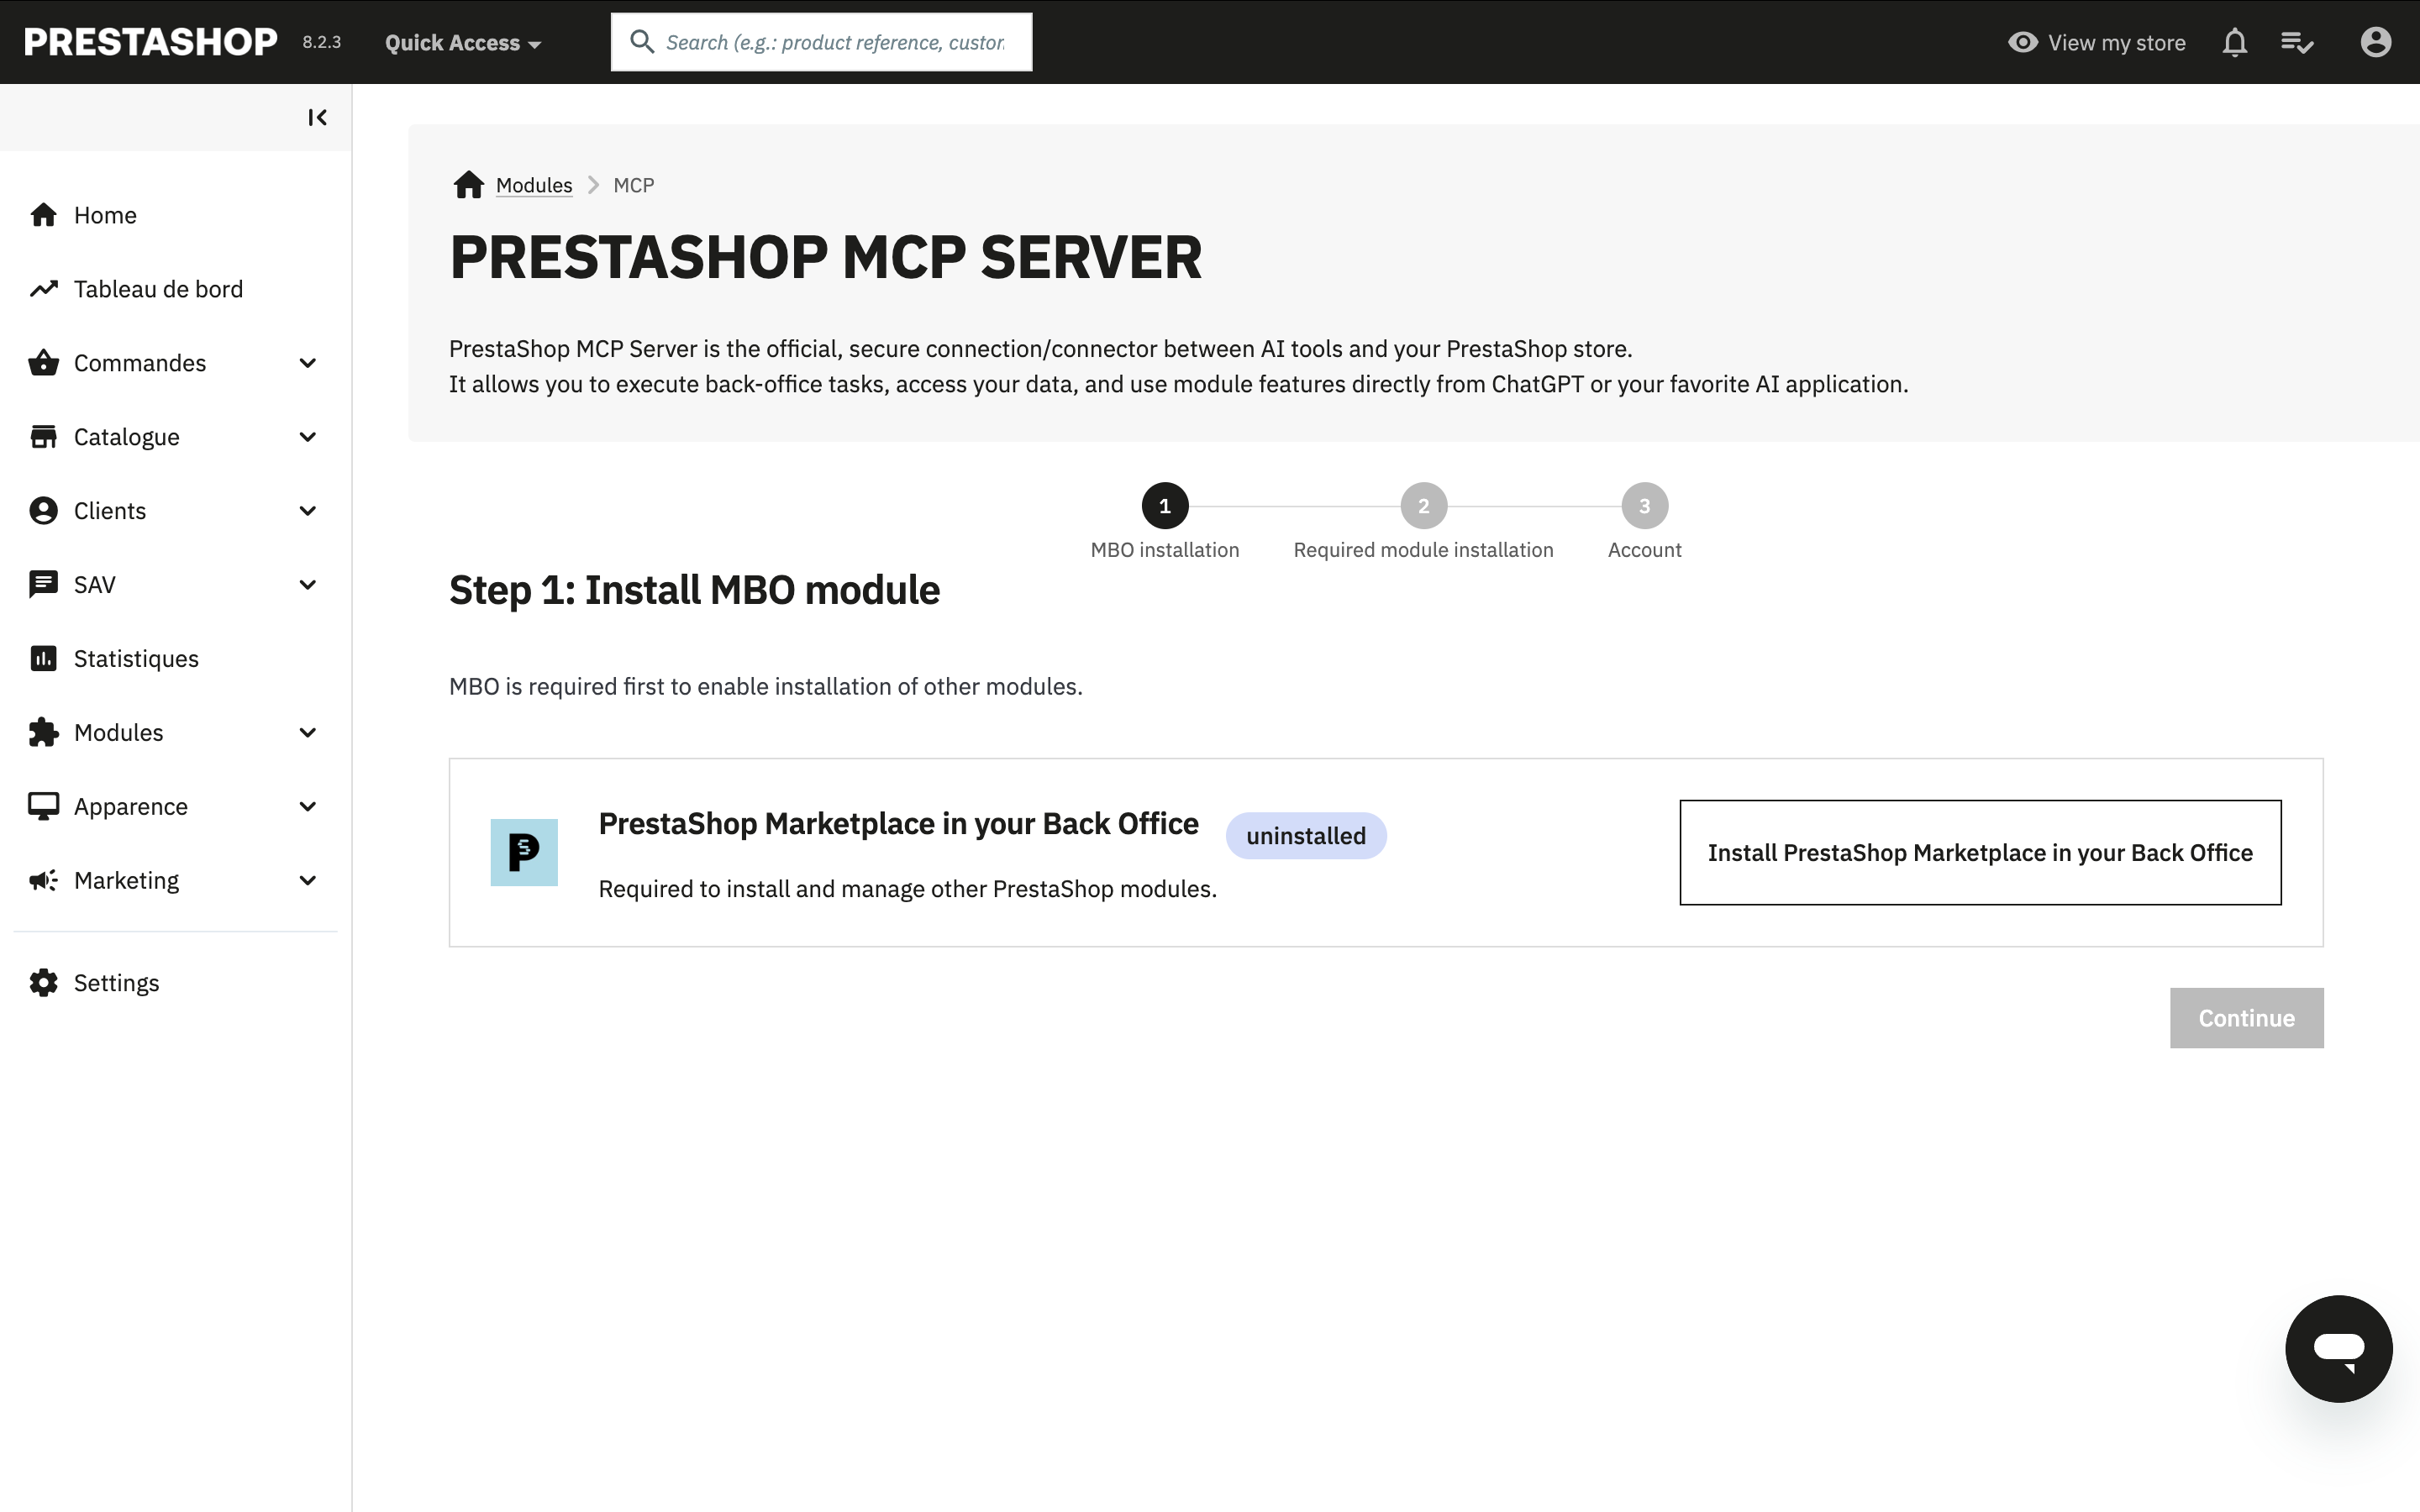
# Step 3: Install PrestaShop MBO
PrestaShop MBO (Marketplace in your Back Office) is required to manage module dependencies:
- If not already installed, go to Modules > Module Manager
- Search for PrestaShop MBO
- Click Install
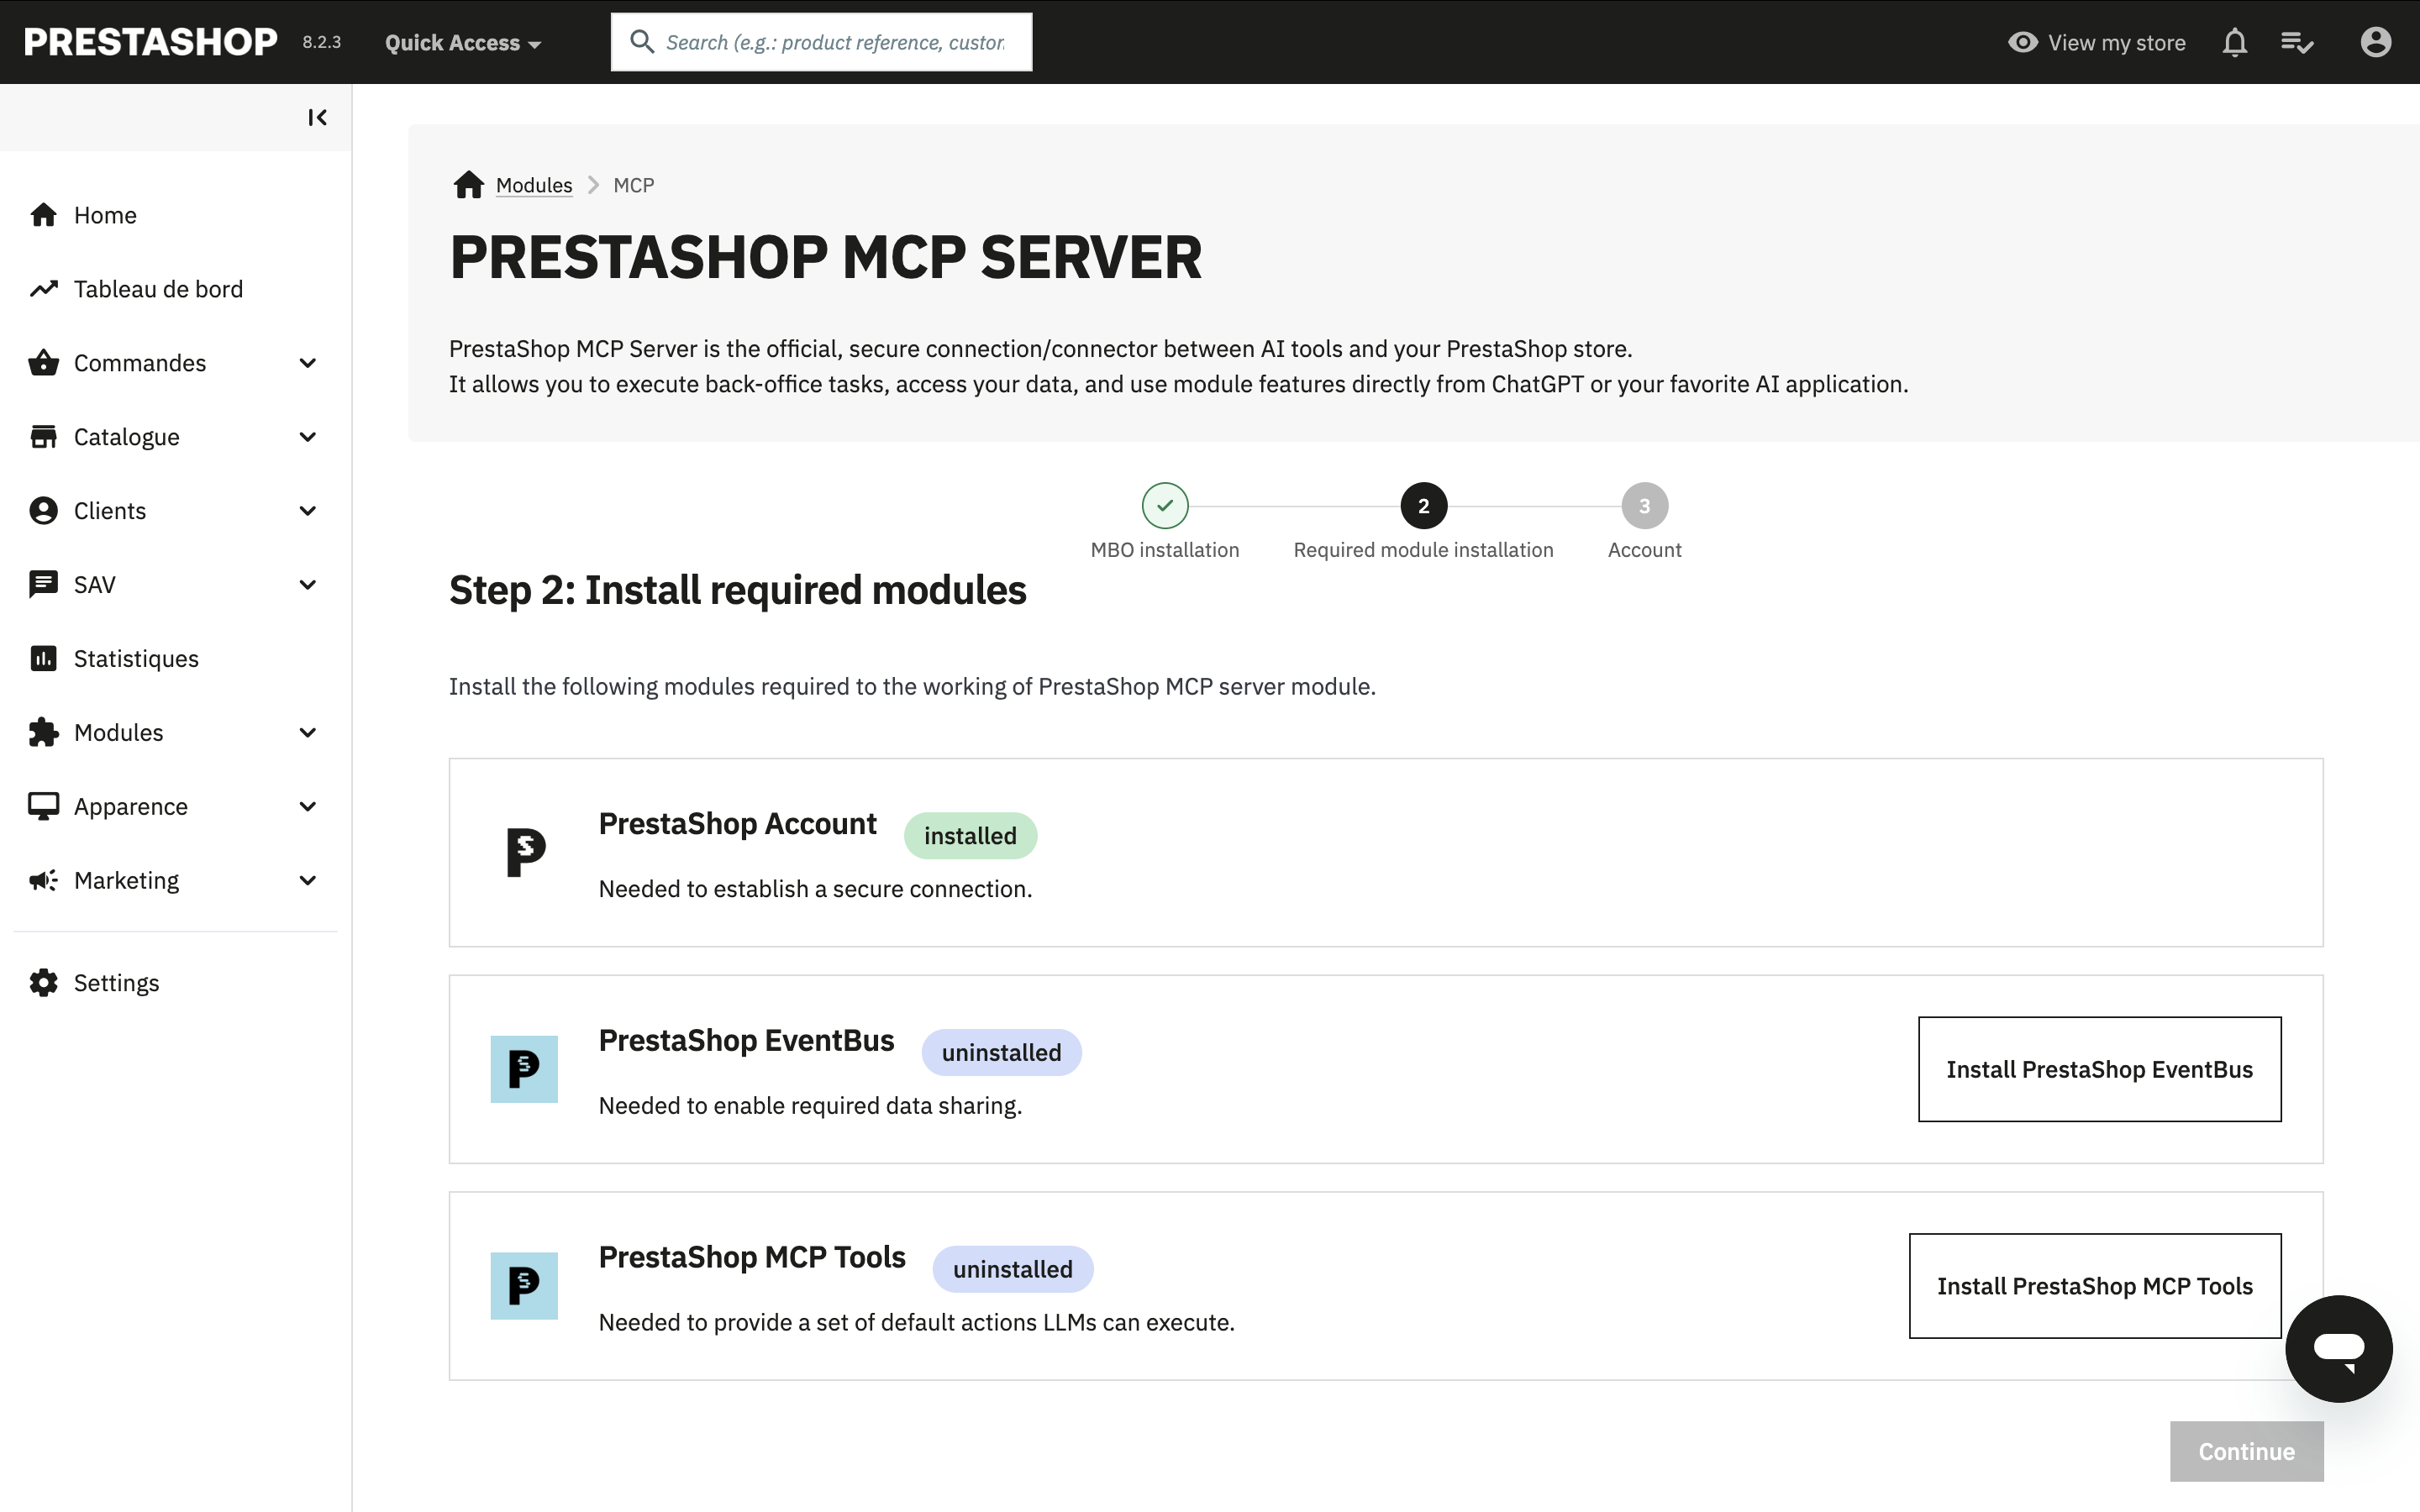
# Step 4: Install Required Dependencies
PrestaShop MCP Server requires the following modules to function properly:
- PrestaShop Account: Manages authentication and user accounts
- PrestaShop EventBus: Handles data synchronization
- PrestaShop MCP Tools: Provides the tools that enable AI interactions
These dependencies will be automatically installed through PrestaShop MBO. If needed, you can manually install them from the Module Manager.
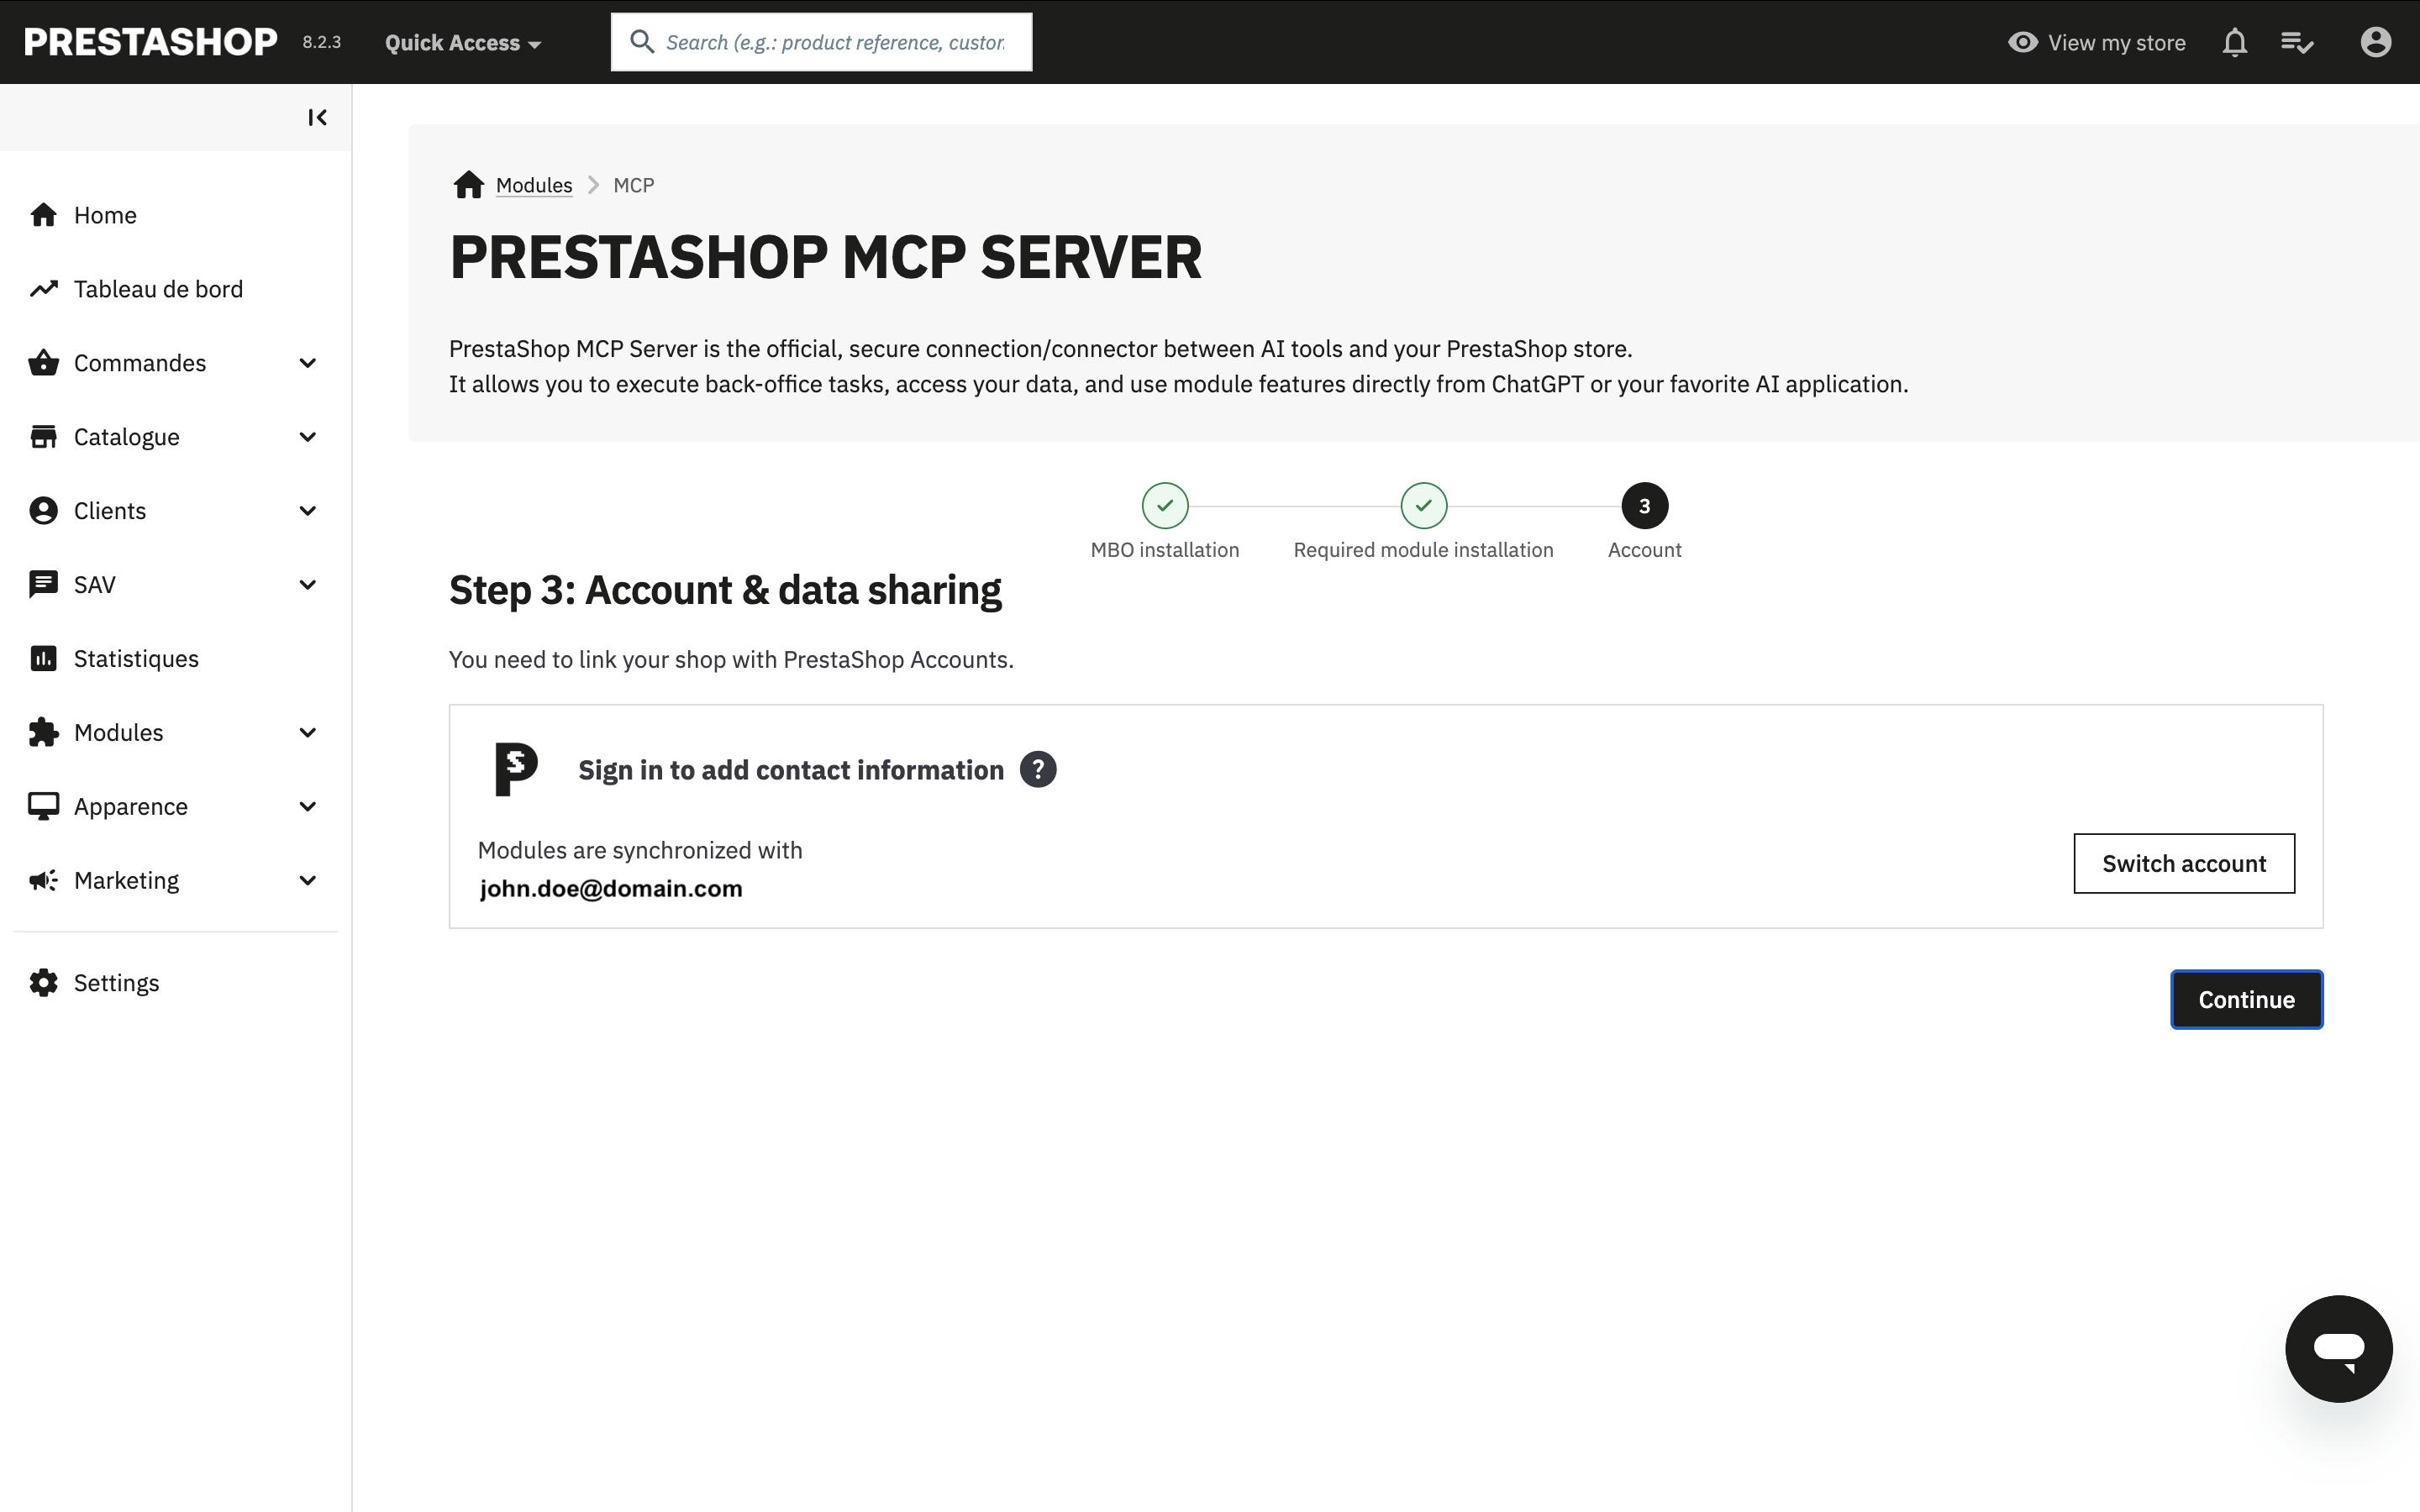
# Step 5: Connect to Your PrestaShop Account
Log in to your PrestaShop Account:
- In your PrestaShop back office, locate the PrestaShop Account module
- Click Connect or Log in
- Enter your PrestaShop Account credentials
# Step 6: Verify Installation
Once all dependencies are installed and you are connected to PrestaShop Account:
- Return to PrestaShop MCP Server configuration
- Verify that all required modules are active
- Your module is now ready to be connected to your AI application

← Introduction Setup →