Setup
After installing PrestaShop MCP Server, you can configure it through several pages in the module's configuration interface:
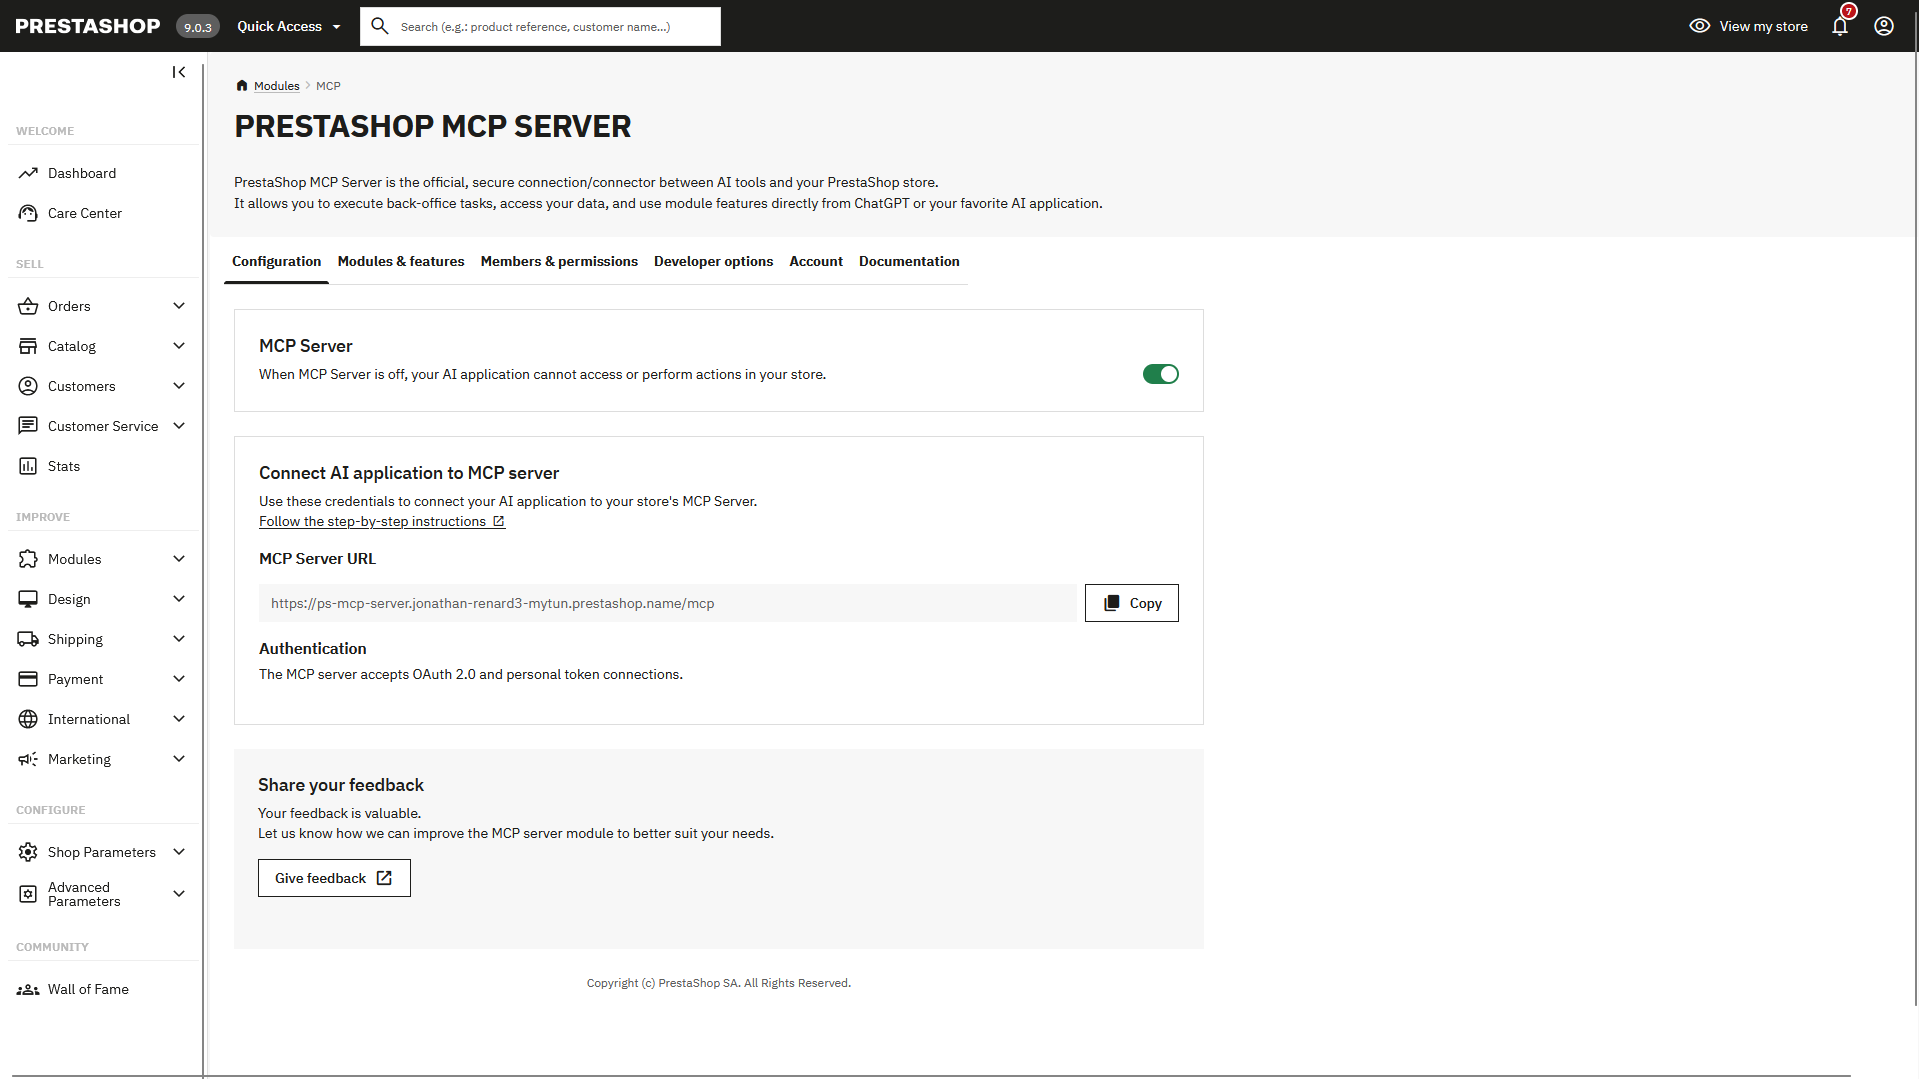
Configuration Page
The Configuration page allows you to enable or disable your MCP Server. By default, the MCP Server is enabled. You can disable it if you no longer want to make your store accessible to your AI application.
This page displays your MCP Server information:
- Server URL: The endpoint URL for your MCP Server
- Authentication Mode: Only OAuth 2.0 is available, as it is the most secure authentication method and recommended by Anthropic
Modules & Features Page
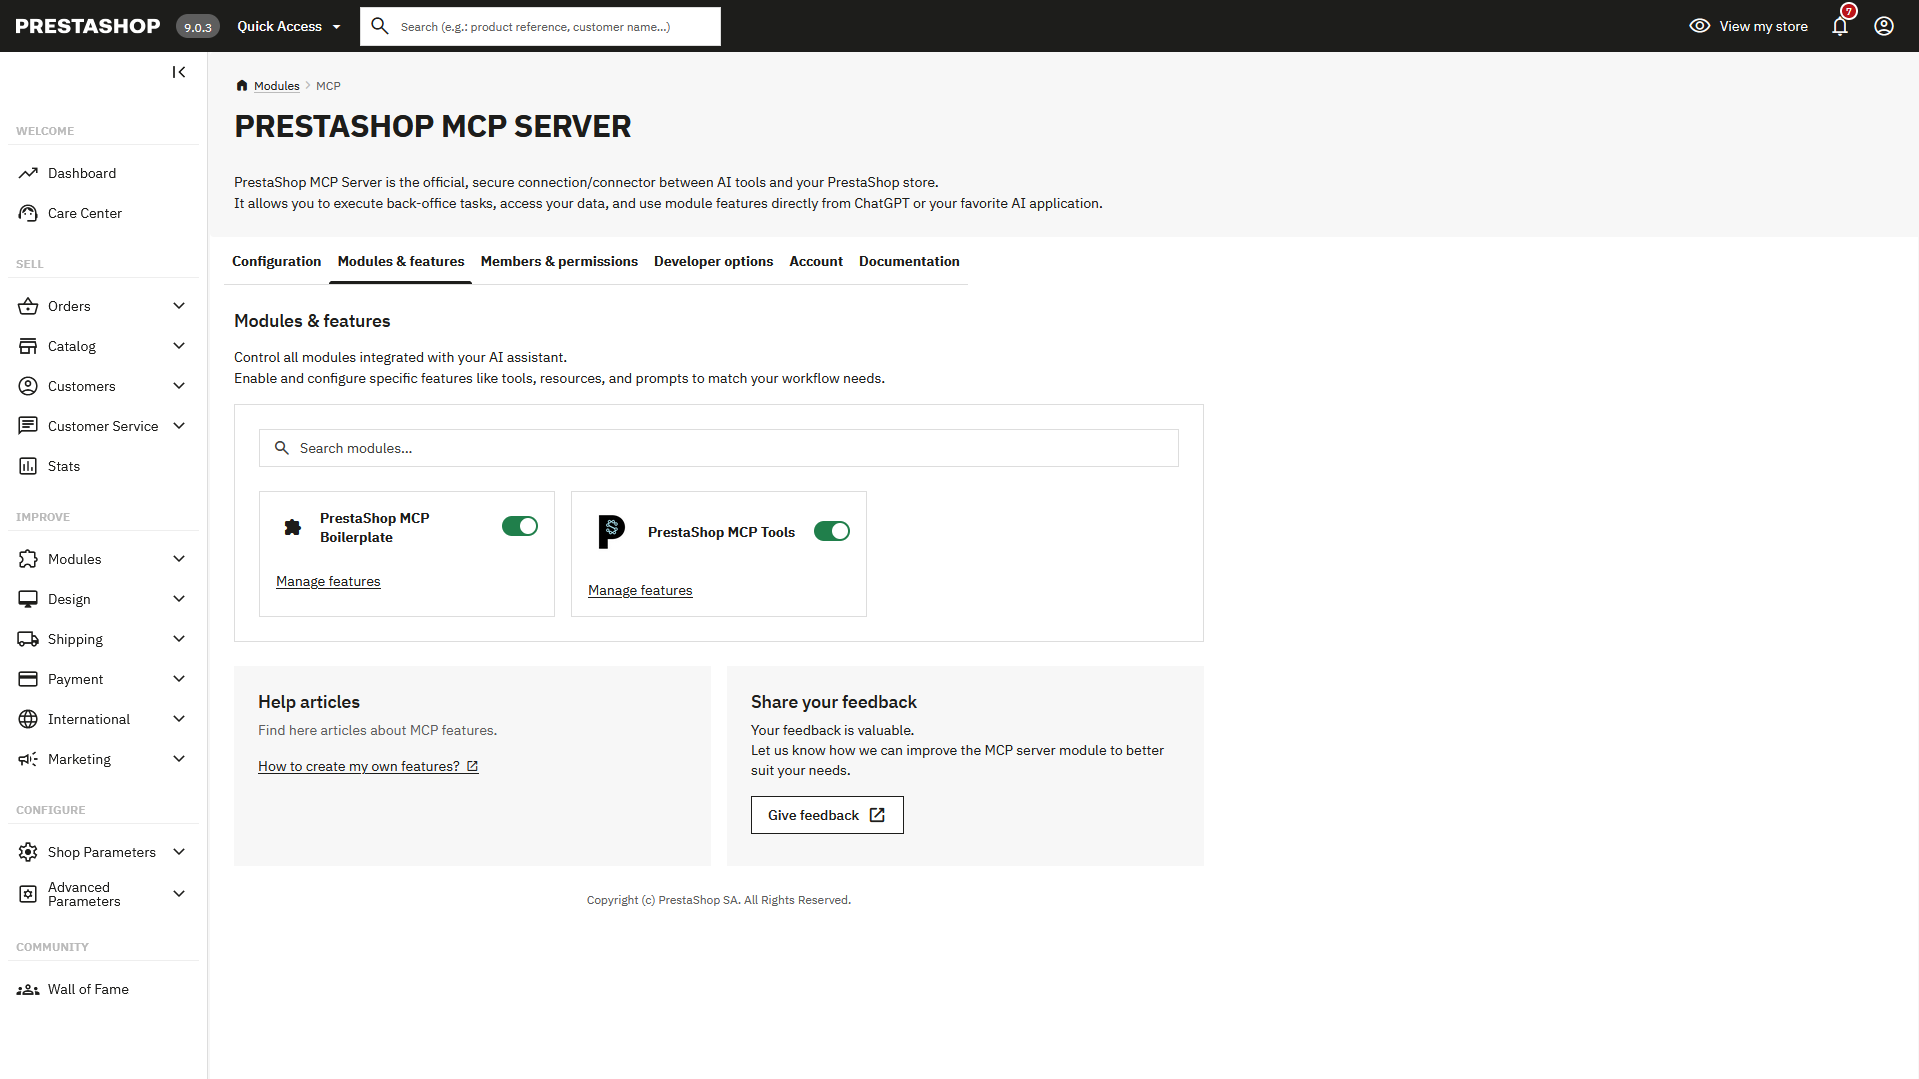
The Modules & Features page lists all MCP-compliant modules installed on your store and the features (tools, prompts, resources) they expose to AI agents.
Each module appears as a card that you can enable or disable. Clicking on a module reveals its features, grouped by type and category, with individual toggles to activate or deactivate each one.
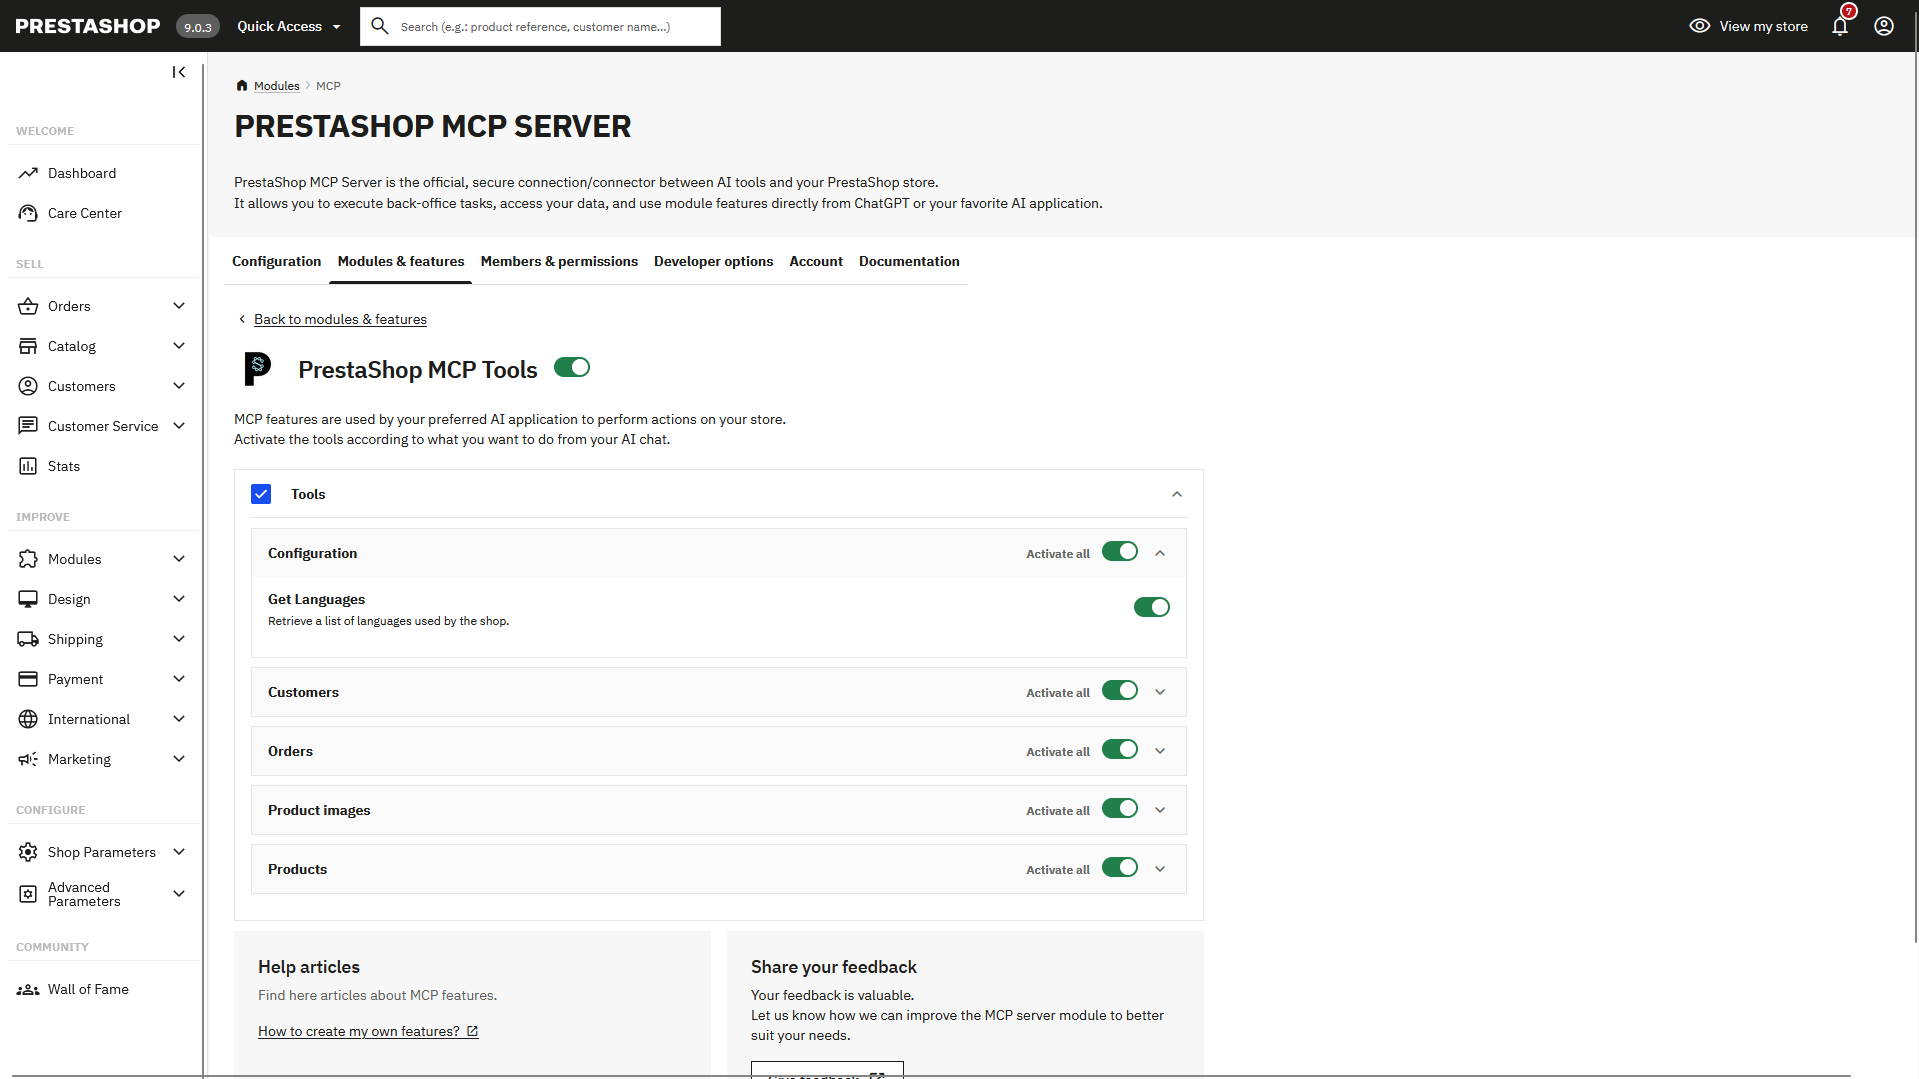
The features installed by default come from PrestaShop MCP Tools, which provides tools for managing your products, product images, orders, and customers.
Below is an example of the feature details for PrestaShop MCP Tools:
Members Page
The Members page is an important security feature. It allows you to authorize which users can access your MCP Server via AI applications.
You can:
- Add new authorized email addresses
- Remove existing access
- Manage member permissions as needed
Info
Only users listed on this page will be able to authenticate and access your store through their AI application.
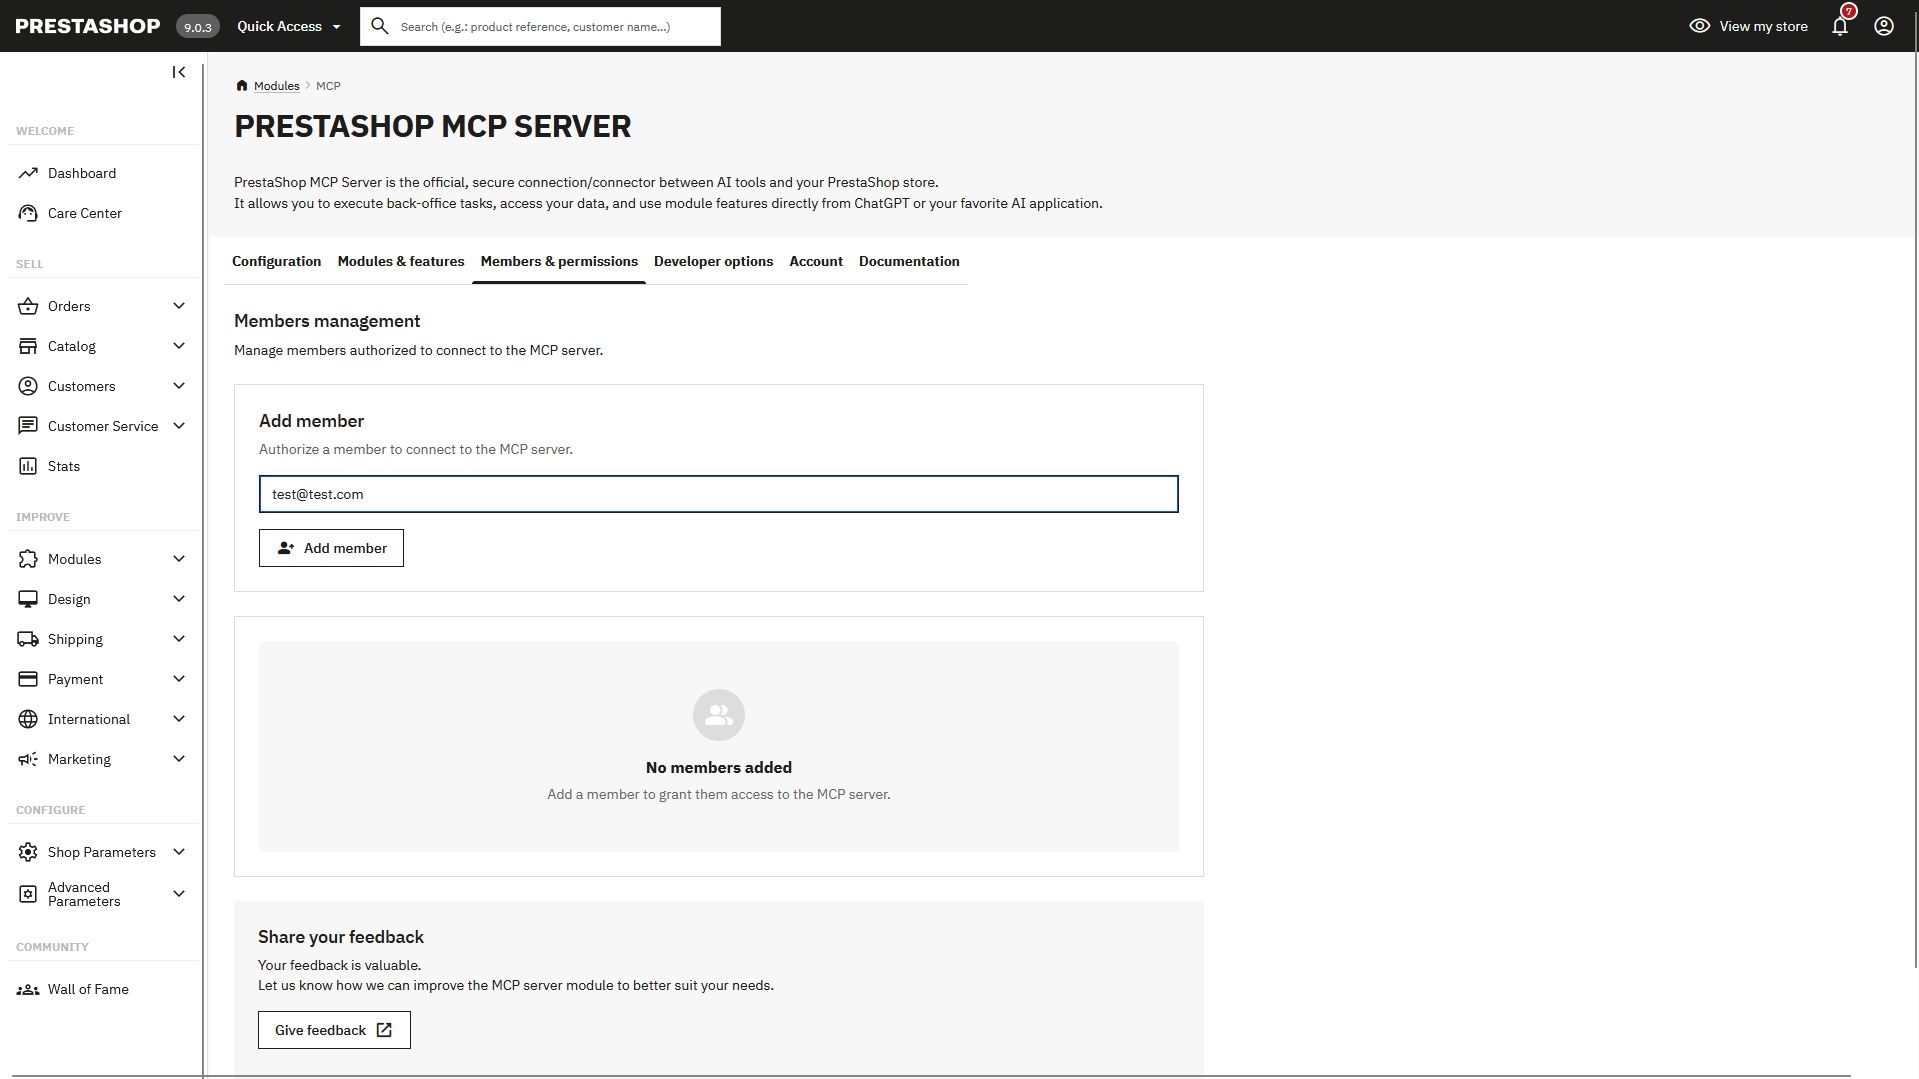
Adding a member
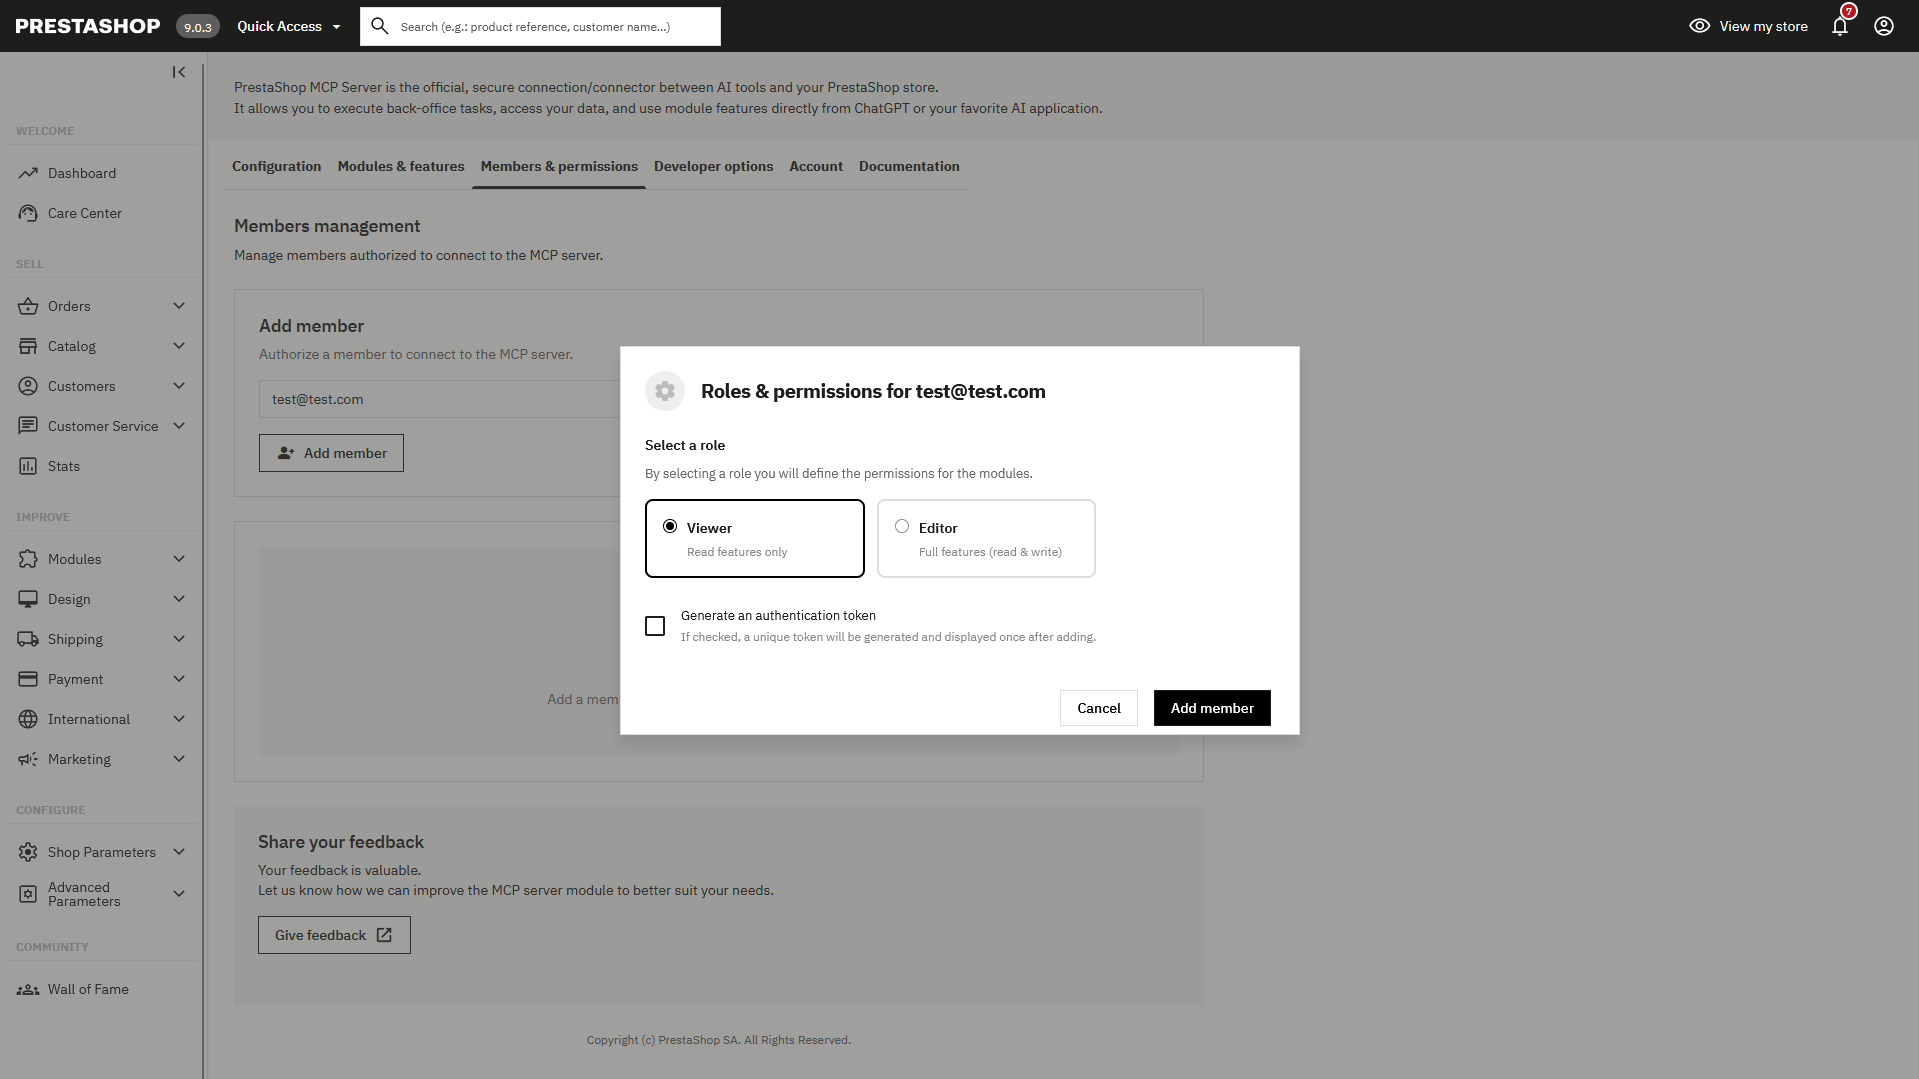
When adding a new member, you must assign them a role that determines their level of access:
- Viewer — Read-only access. The member can query data (products, orders, customers, etc.) but cannot make any changes. Ideal for team members who only need to consult store information.
- Editor — Full access (read & write). The member can both query and modify data. Use this role for team members who need to manage the store through their AI application.
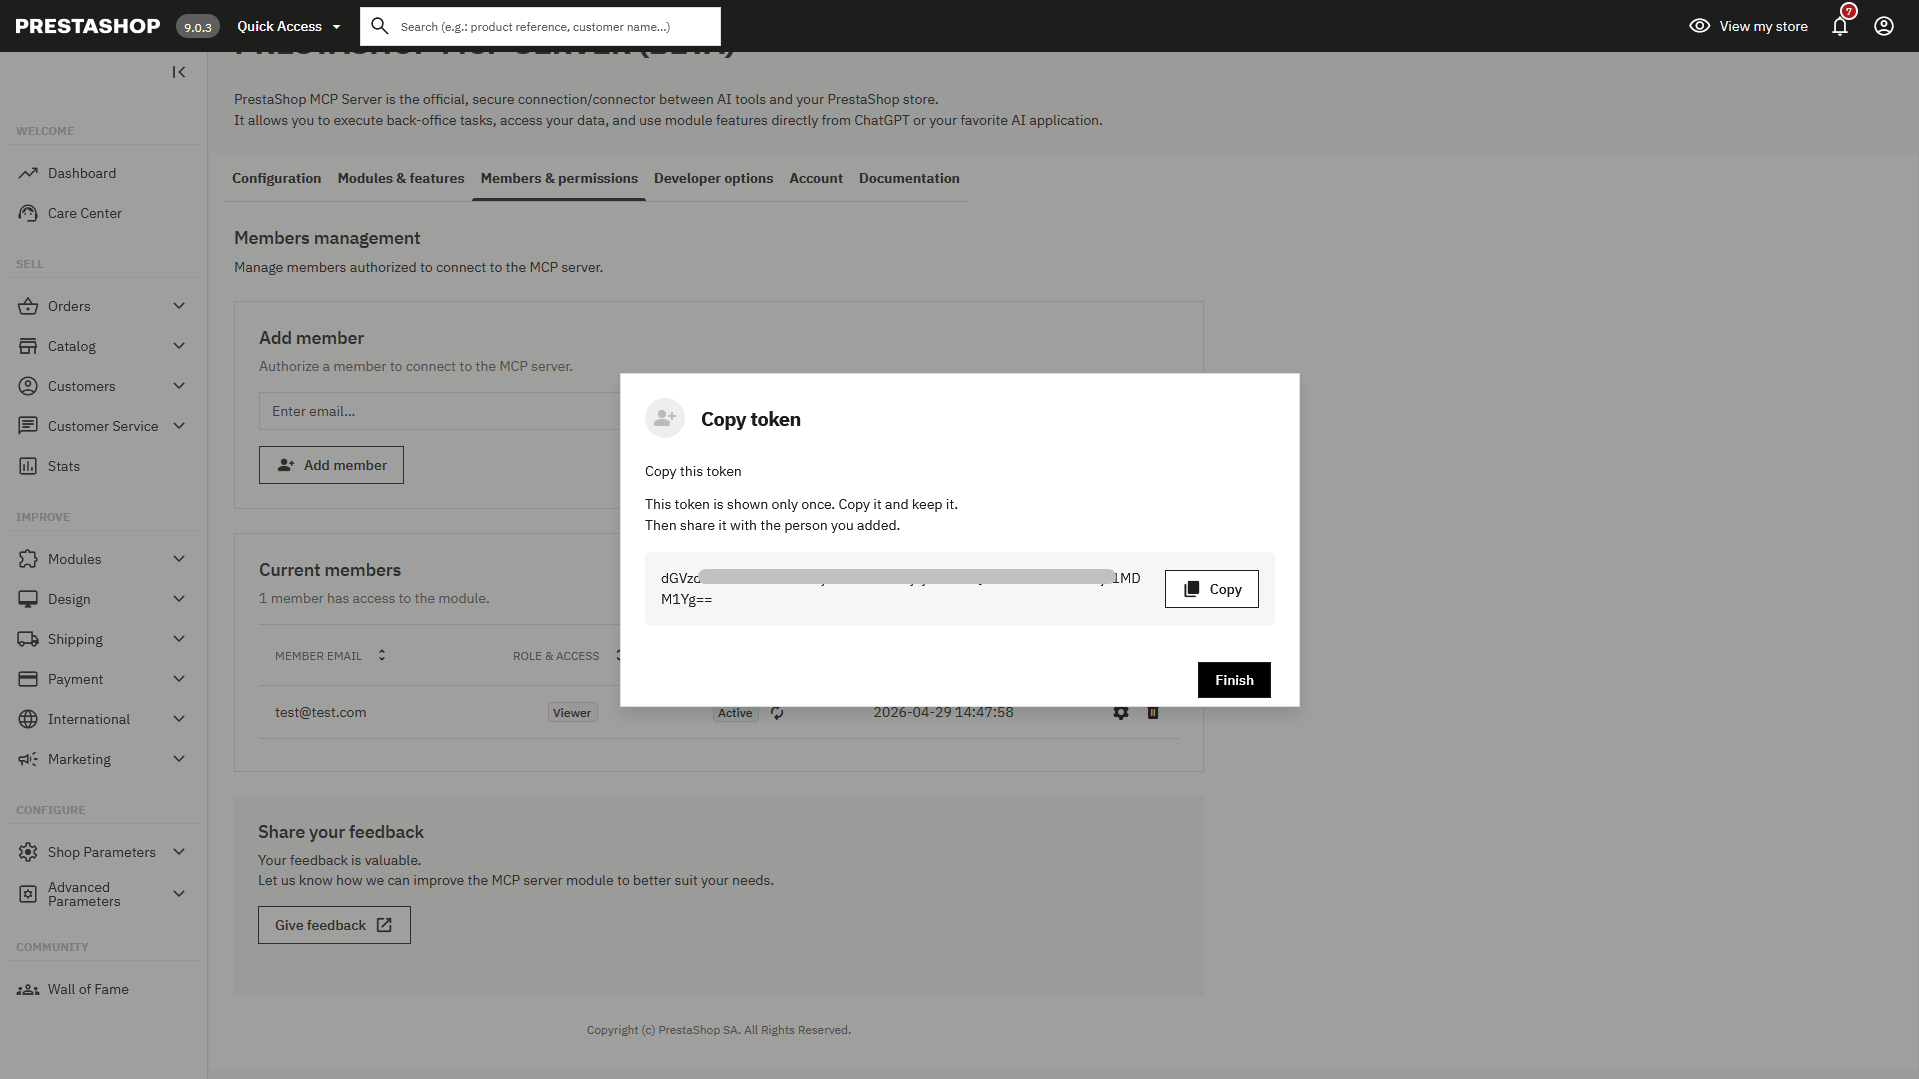
You can also choose to generate an authentication token during the member creation. This token is useful when connecting through AI applications or MCP clients that do not support OAuth authentication. In that case, the token can be sent as a Bearer or Basic value in the Authorization header to authenticate requests directly.
Warning
The token is displayed only once after creation. Make sure to copy and store it securely.
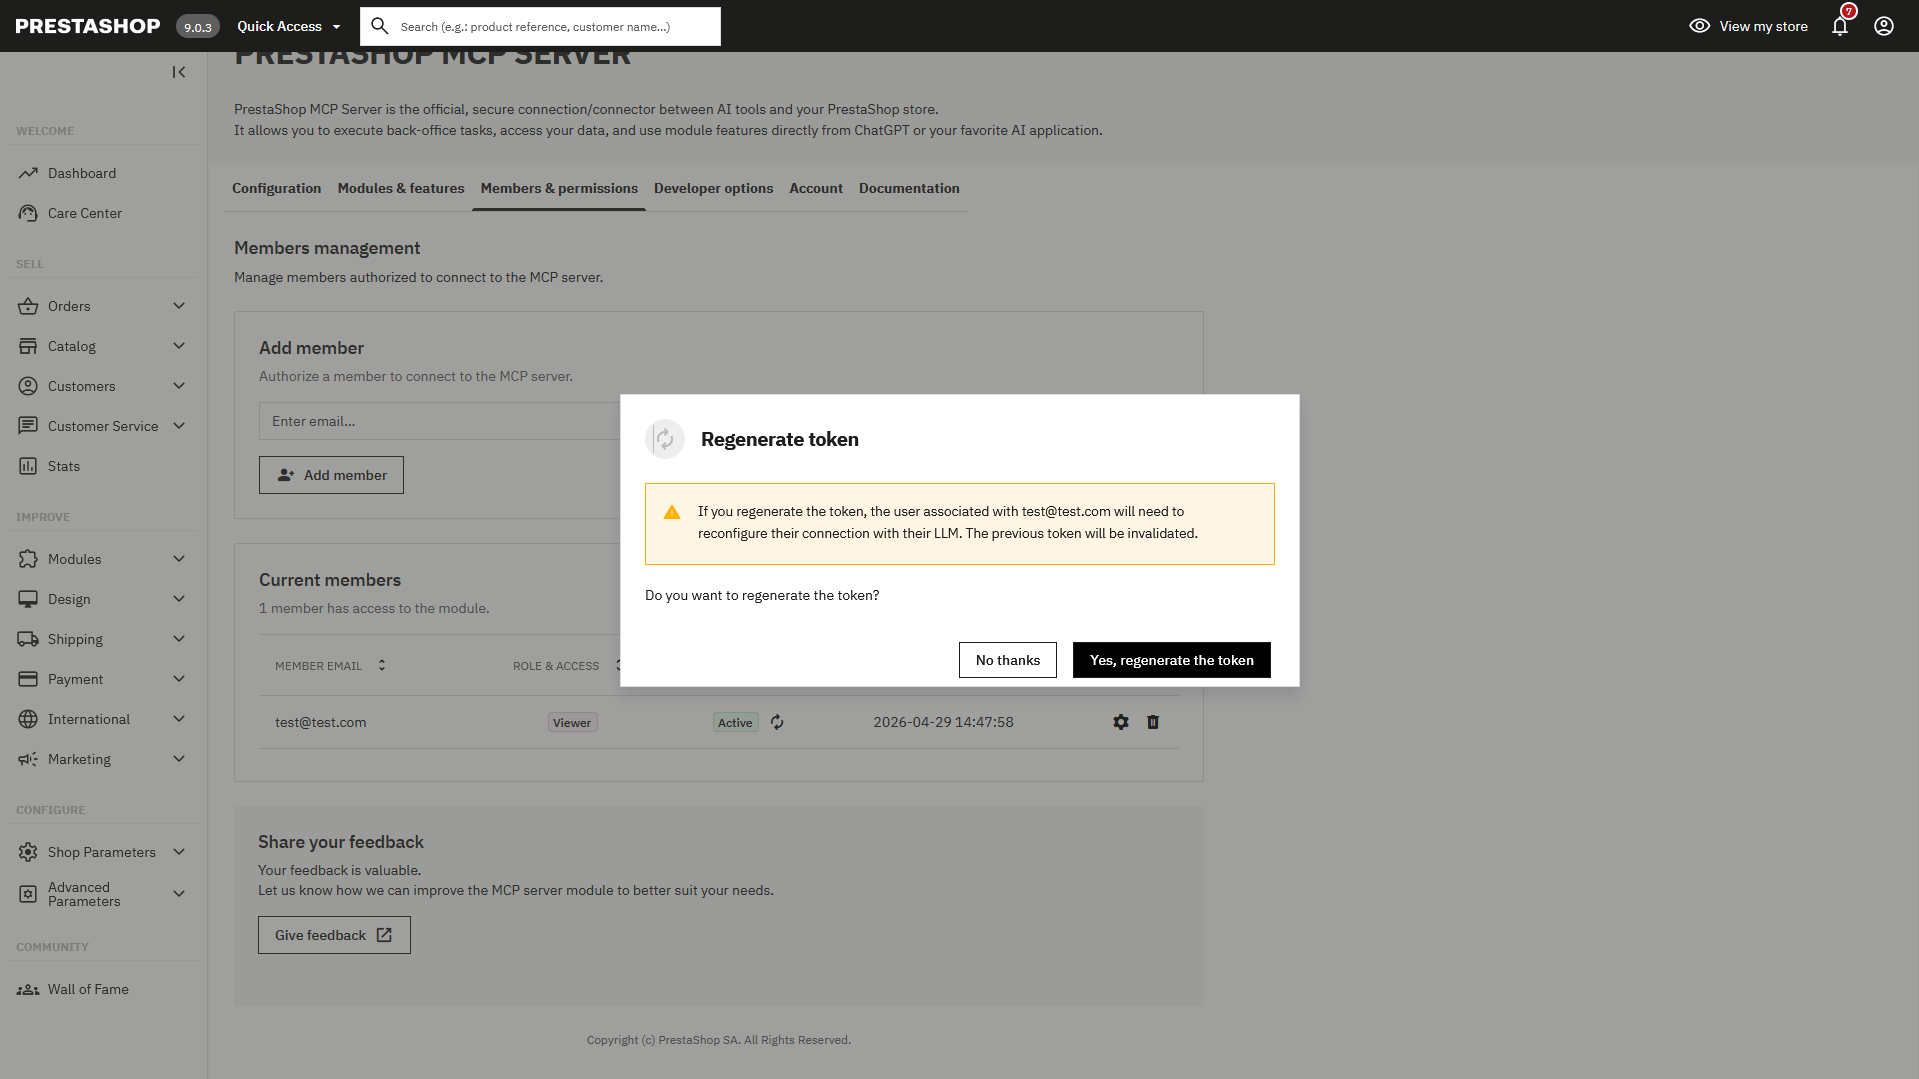
Token management
If a token was generated for a member, it can be regenerated at any time from the members list. Regenerating a token immediately invalidates the previous one — any application using the old token will need to be updated.
Developer Options Page
This is an advanced settings page for developers that provides:
- Manual Tool Discovery: Manually trigger the discovery of new MCP Tools
- Hot Caching: Disable caching of MCP Tools
- Debug Logs: Enable logging for troubleshooting and debugging purposes. Logs will be available in the
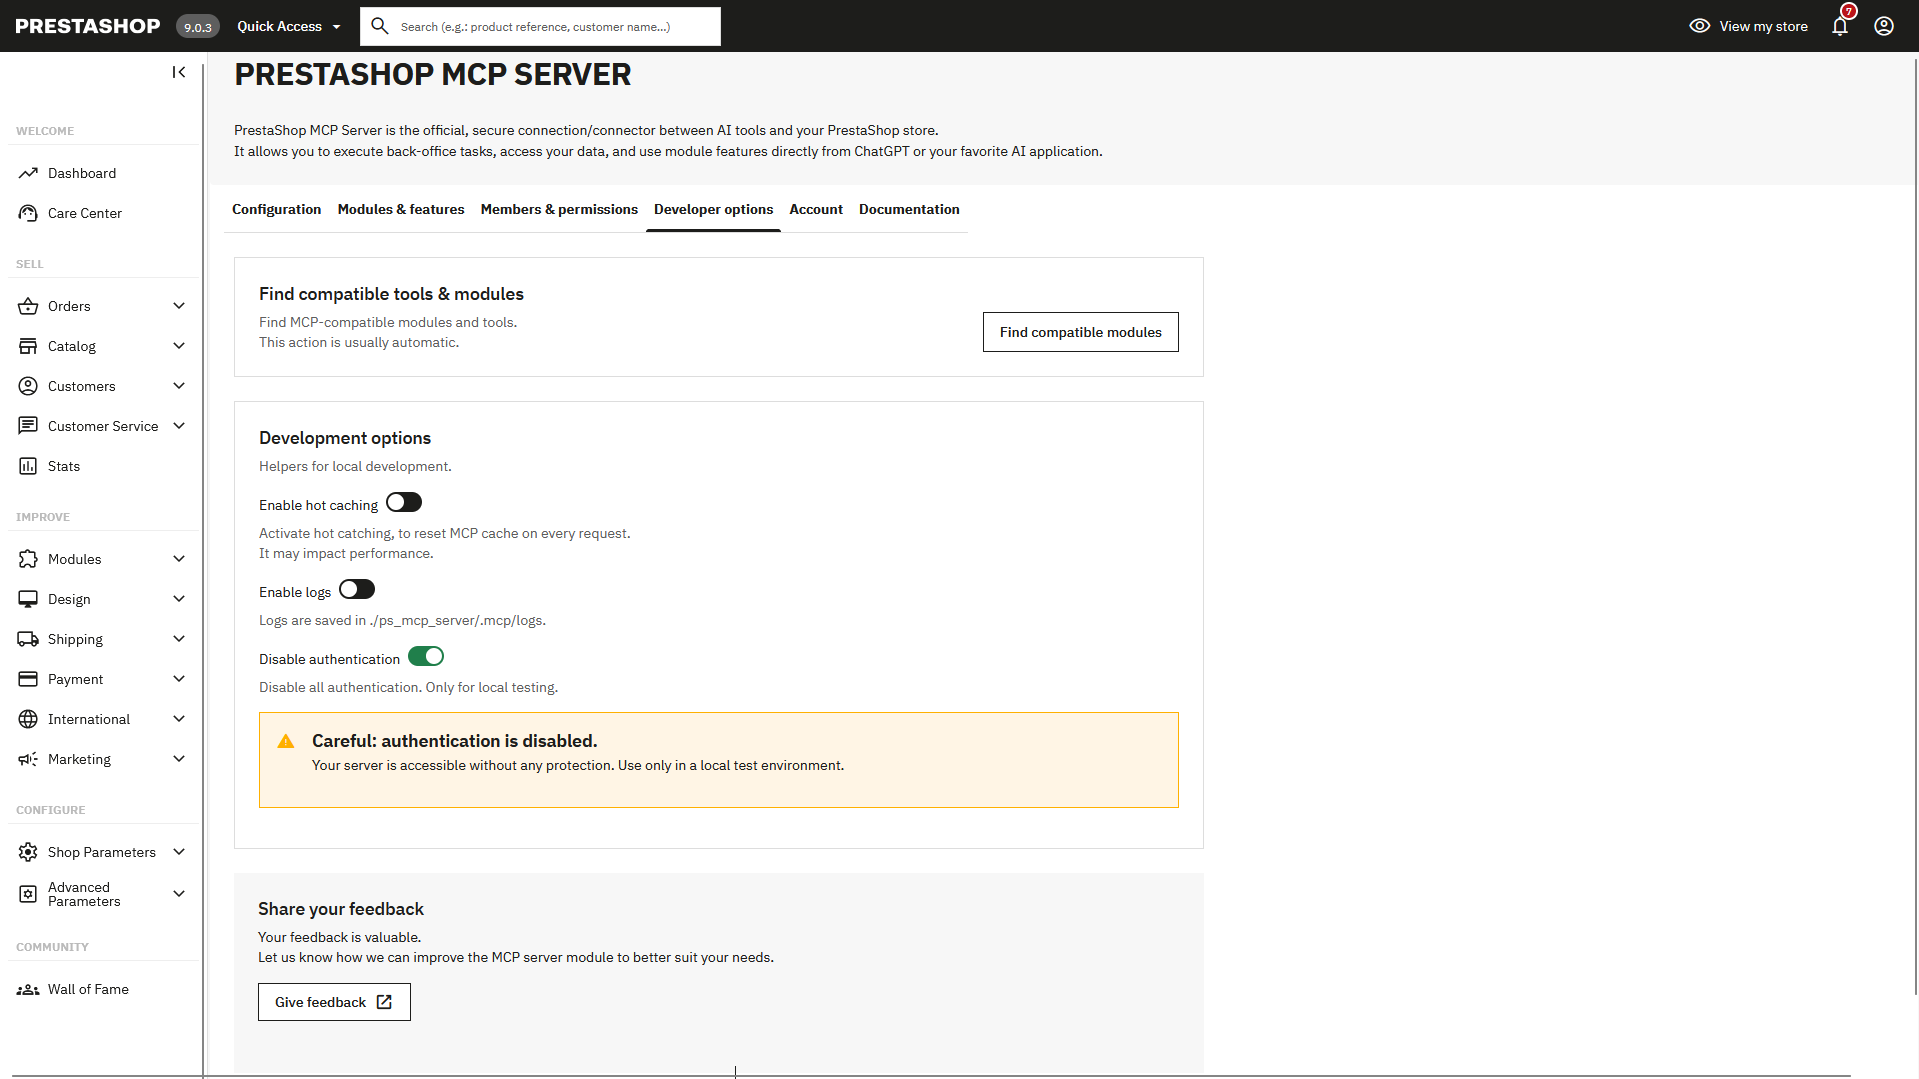
.mcp/logsmodule folder. - Disable Authentication: Disable all authentication on your MCP Server. This option is locked by default and only intended for local testing.
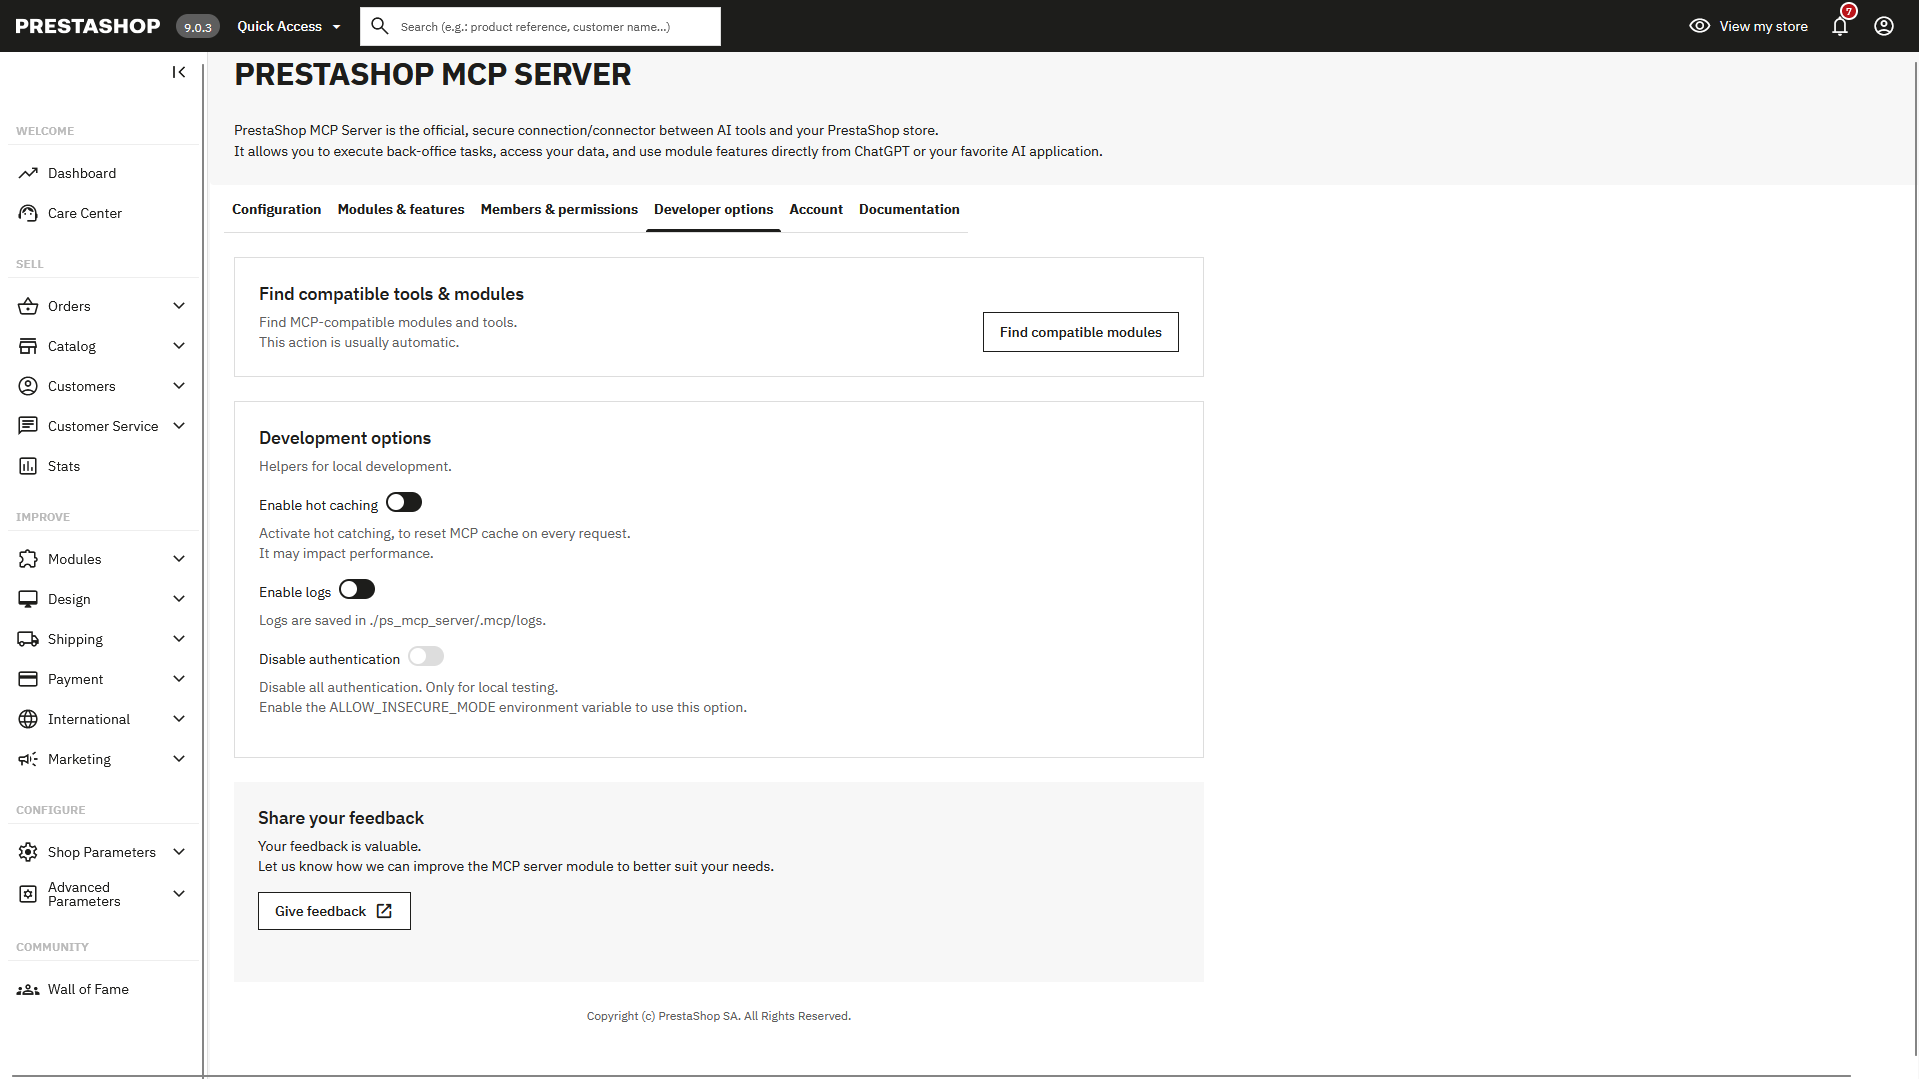
To unlock this option, you must first add the following constant to your PrestaShop configuration file (e.g. config/defines.inc.php):
define('_PS_MCP_SERVER_ALLOW_INSECURE_MODE_', true);
Once this constant is defined, the toggle becomes active in the Developer Options page. When enabled, your MCP Server will accept requests without any authentication (no OAuth, no token).
Caution
Never enable this option in a production environment. Your server would be accessible without any protection.
Account Page
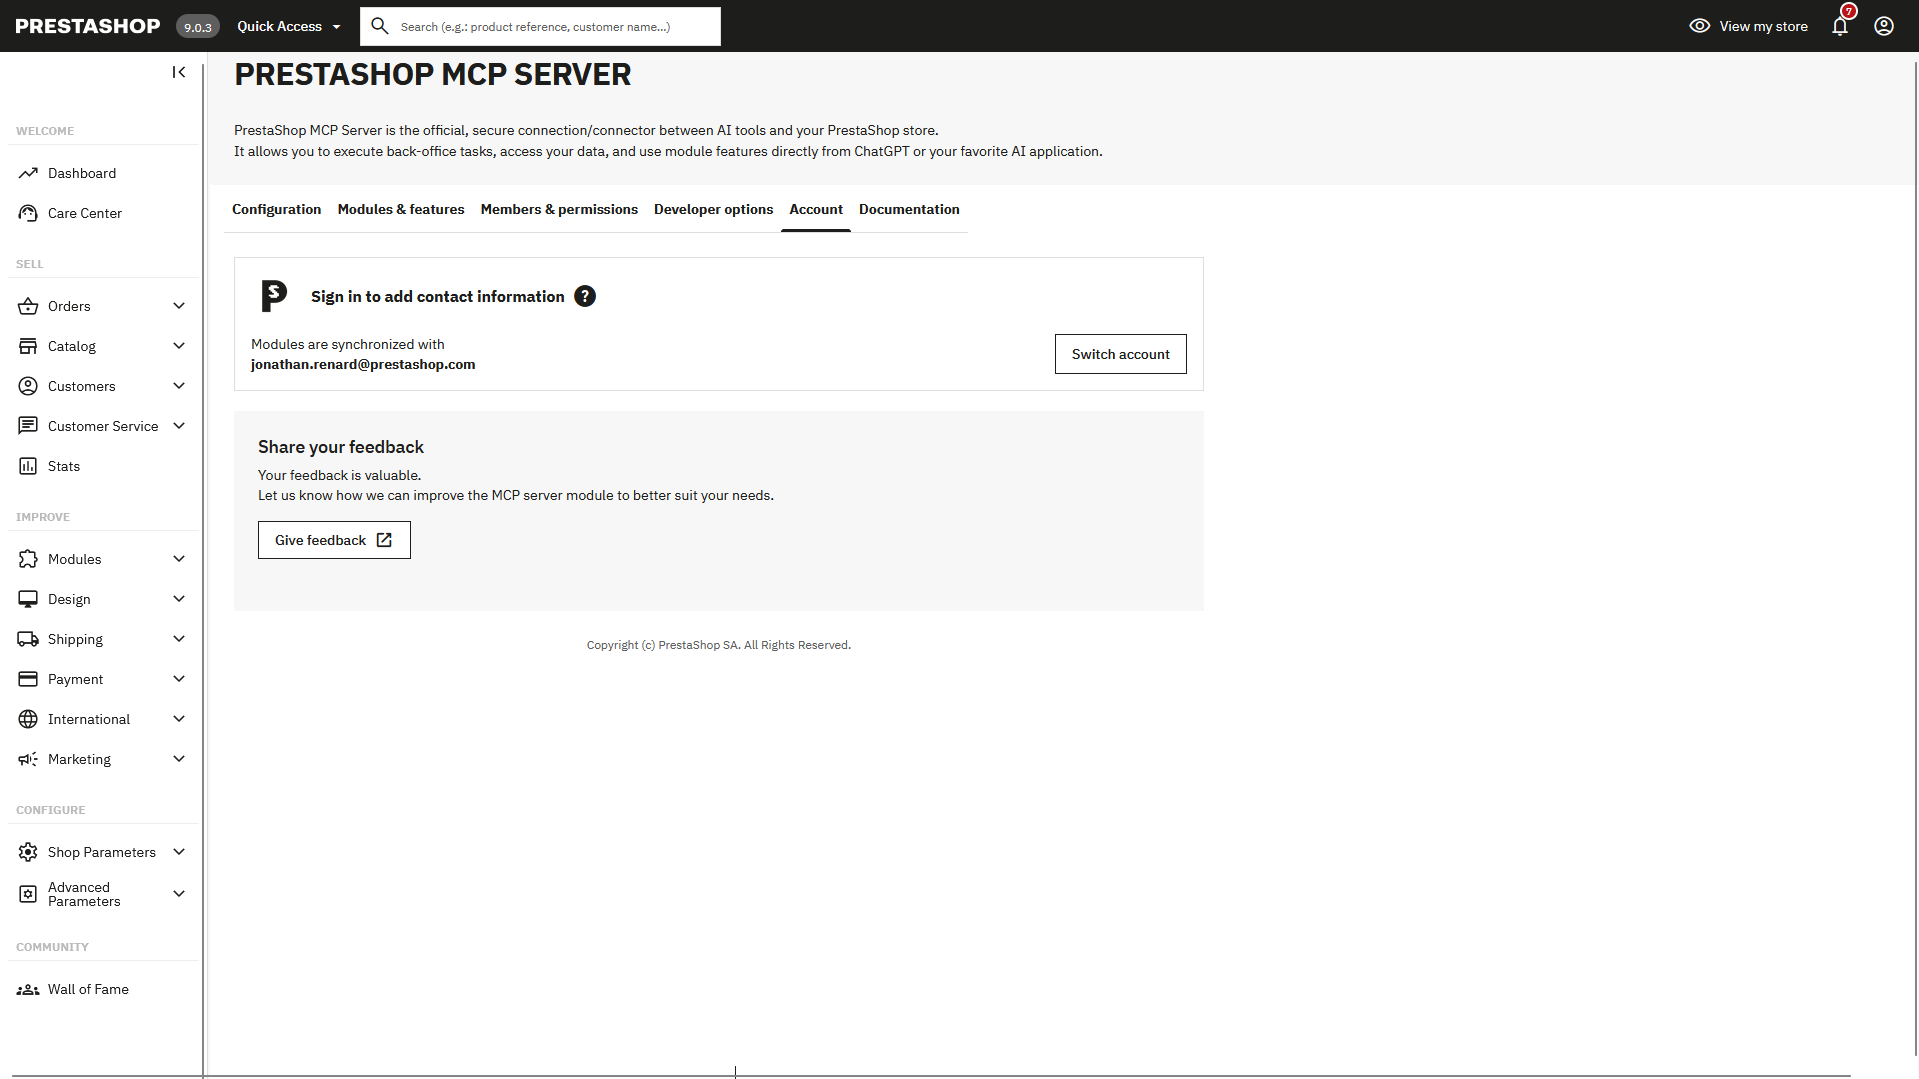
The Account page allows you to switch the PrestaShop Account you are connected with if needed.
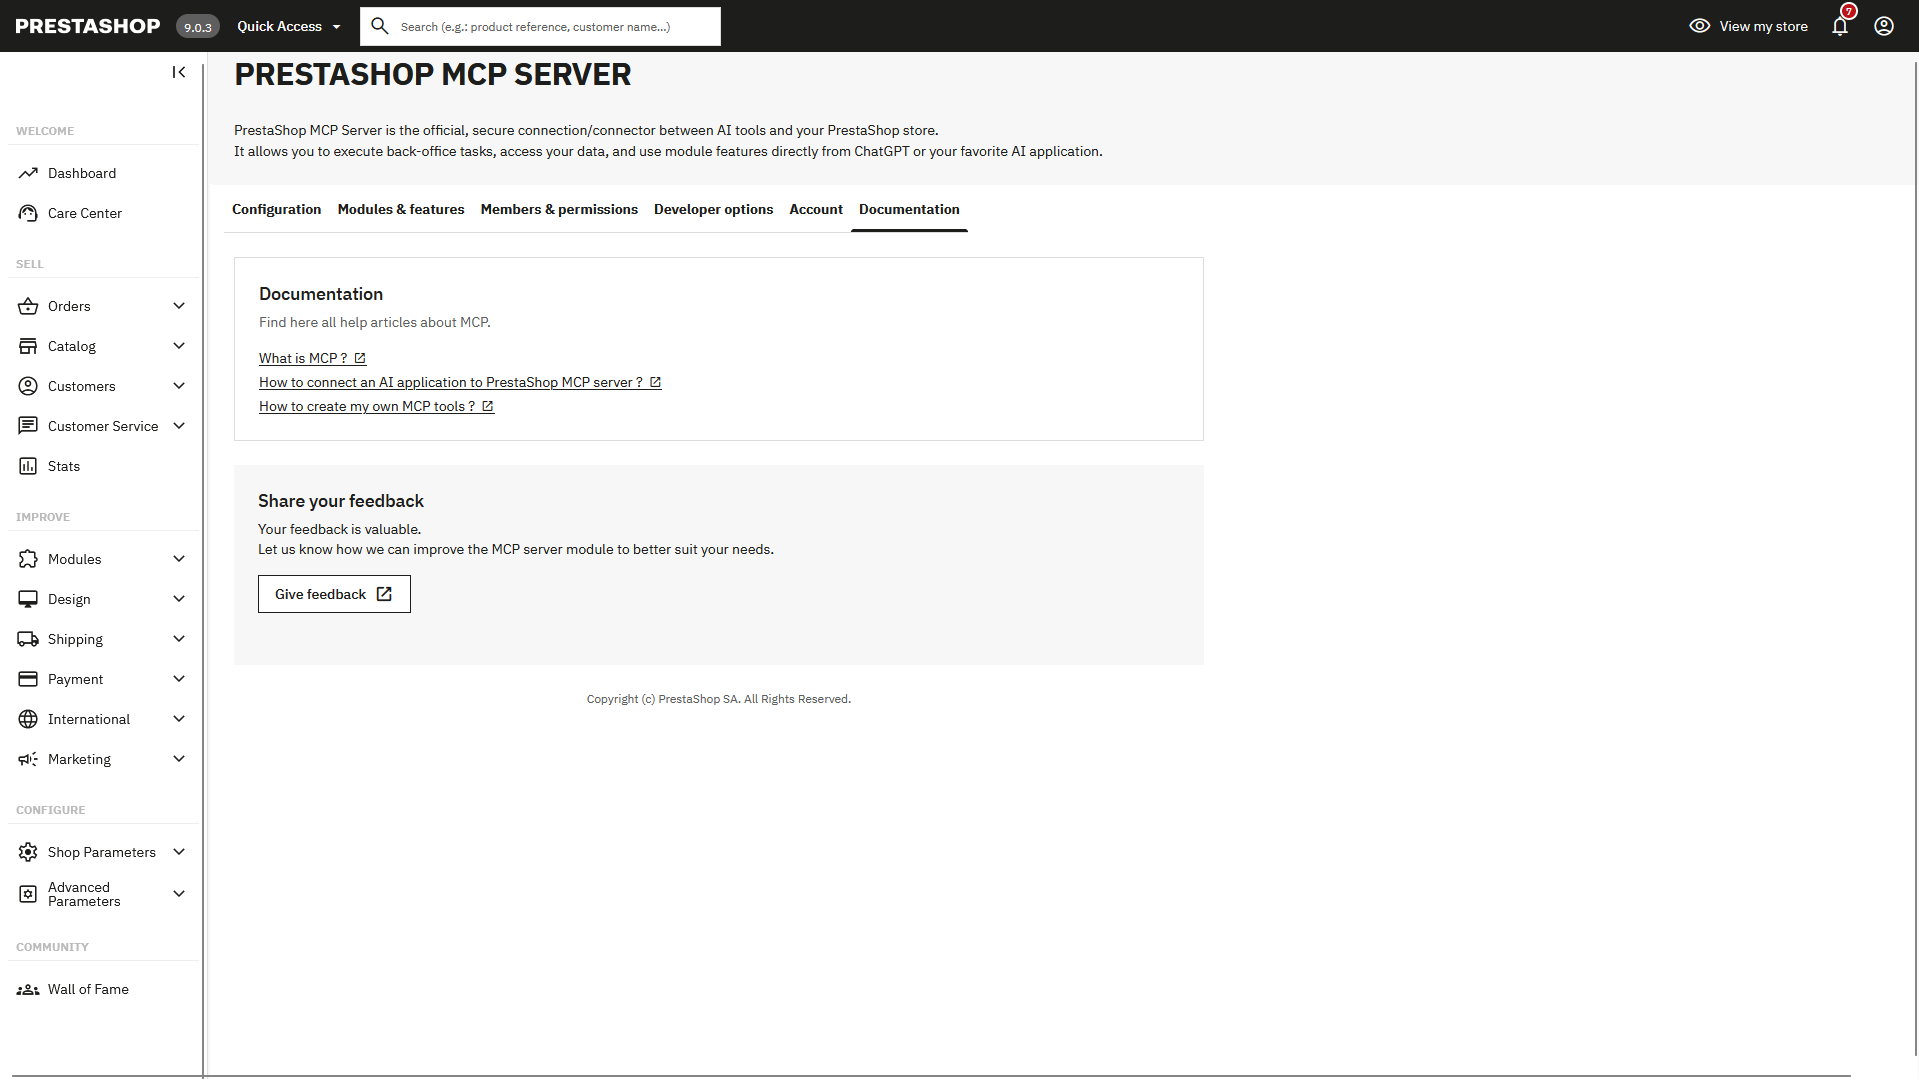
Documentation Page
The Documentation page provides all useful links and resources to help you use the module effectively.